A smart piano keyboard turns learning and creating into one seamless experience. In one compact instrument you can follow light-guided lessons, switch sounds for different songs, plug into a DAW to record MIDI, and keep everything updated with quick firmware installs.
This guide walks you through the essential workflows—step by step—so you can spend less time guessing and more time playing. We’ll cover first-time setup, connecting to your computer or mobile device, practicing with guided lights, swapping sounds, recording MIDI, and caring for your hardware.
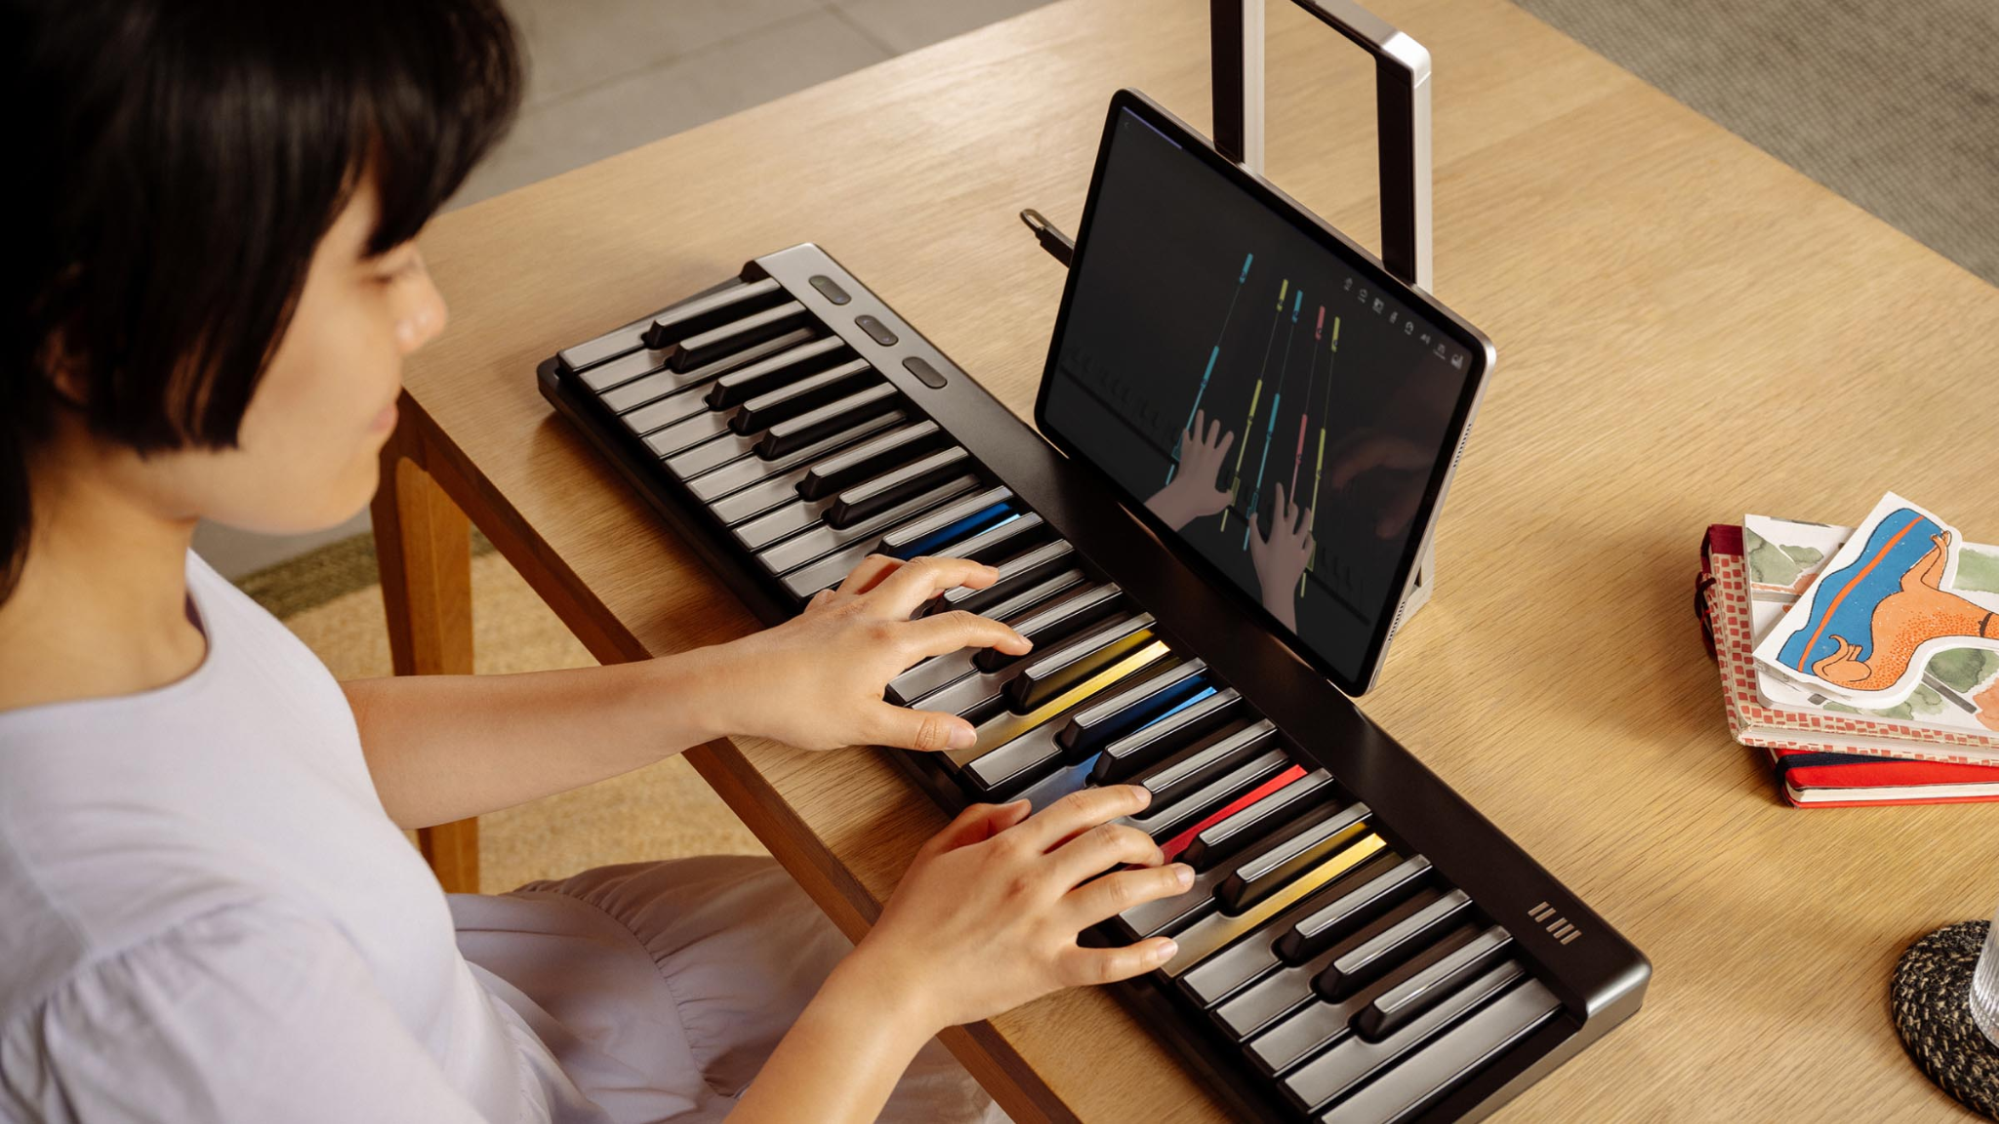
Where it helps, we’ll reference a modular, LED-guided example that’s easy to grow with as you improve: the smart keyboard with guided lights you’ll find here: smart keyboard. We’ll keep the brand mentions minimal and focus on what you actually need to do.

Great sessions start with minimal friction. Place your smart piano keyboard on a sturdy surface at elbow height, plug in power (or charge), and connect headphones so practice stays quiet and consistent.
Open the companion app on your phone or tablet, enable Bluetooth (or use a USB cable), and run the basic pairing wizard. Most boards will light up the keys during boot so you can confirm things are live at a glance.
Why this matters: If your instrument lives on the desk, ready to play, you’ll practice more often. The fastest way to grow is to remove setup time from the equation.
Quick checklist:

The biggest difference between a smart piano keyboard and a traditional board is visual guidance. LEDs under the keys light the next note or chord as you learn. Start with a short piece you genuinely like.
Choose wait-for-note mode so the track won’t advance until you hit the correct key, then loop a two-bar fragment until it feels effortless. Gradually add tempo using the app’s speed control.
Why it works: You skip early confusion about “where do my fingers go?” and instead build coordination and rhythm faster. Keep sessions short (15–30 minutes) and end on a small win so tomorrow’s practice feels inviting.
Many players want to how to connect PopuMusic to DAW or any smart board to a preferred workstation. The steps are almost identical across Logic, Ableton, FL Studio, GarageBand, and most iOS/Android DAWs.
Tip: Save a DAW template with one piano, one EP, a pad, and drums already loaded so you can start playing immediately.
Beginners often ask how to change sounds on PopuMusic Pro or on similar boards. There are two paths:
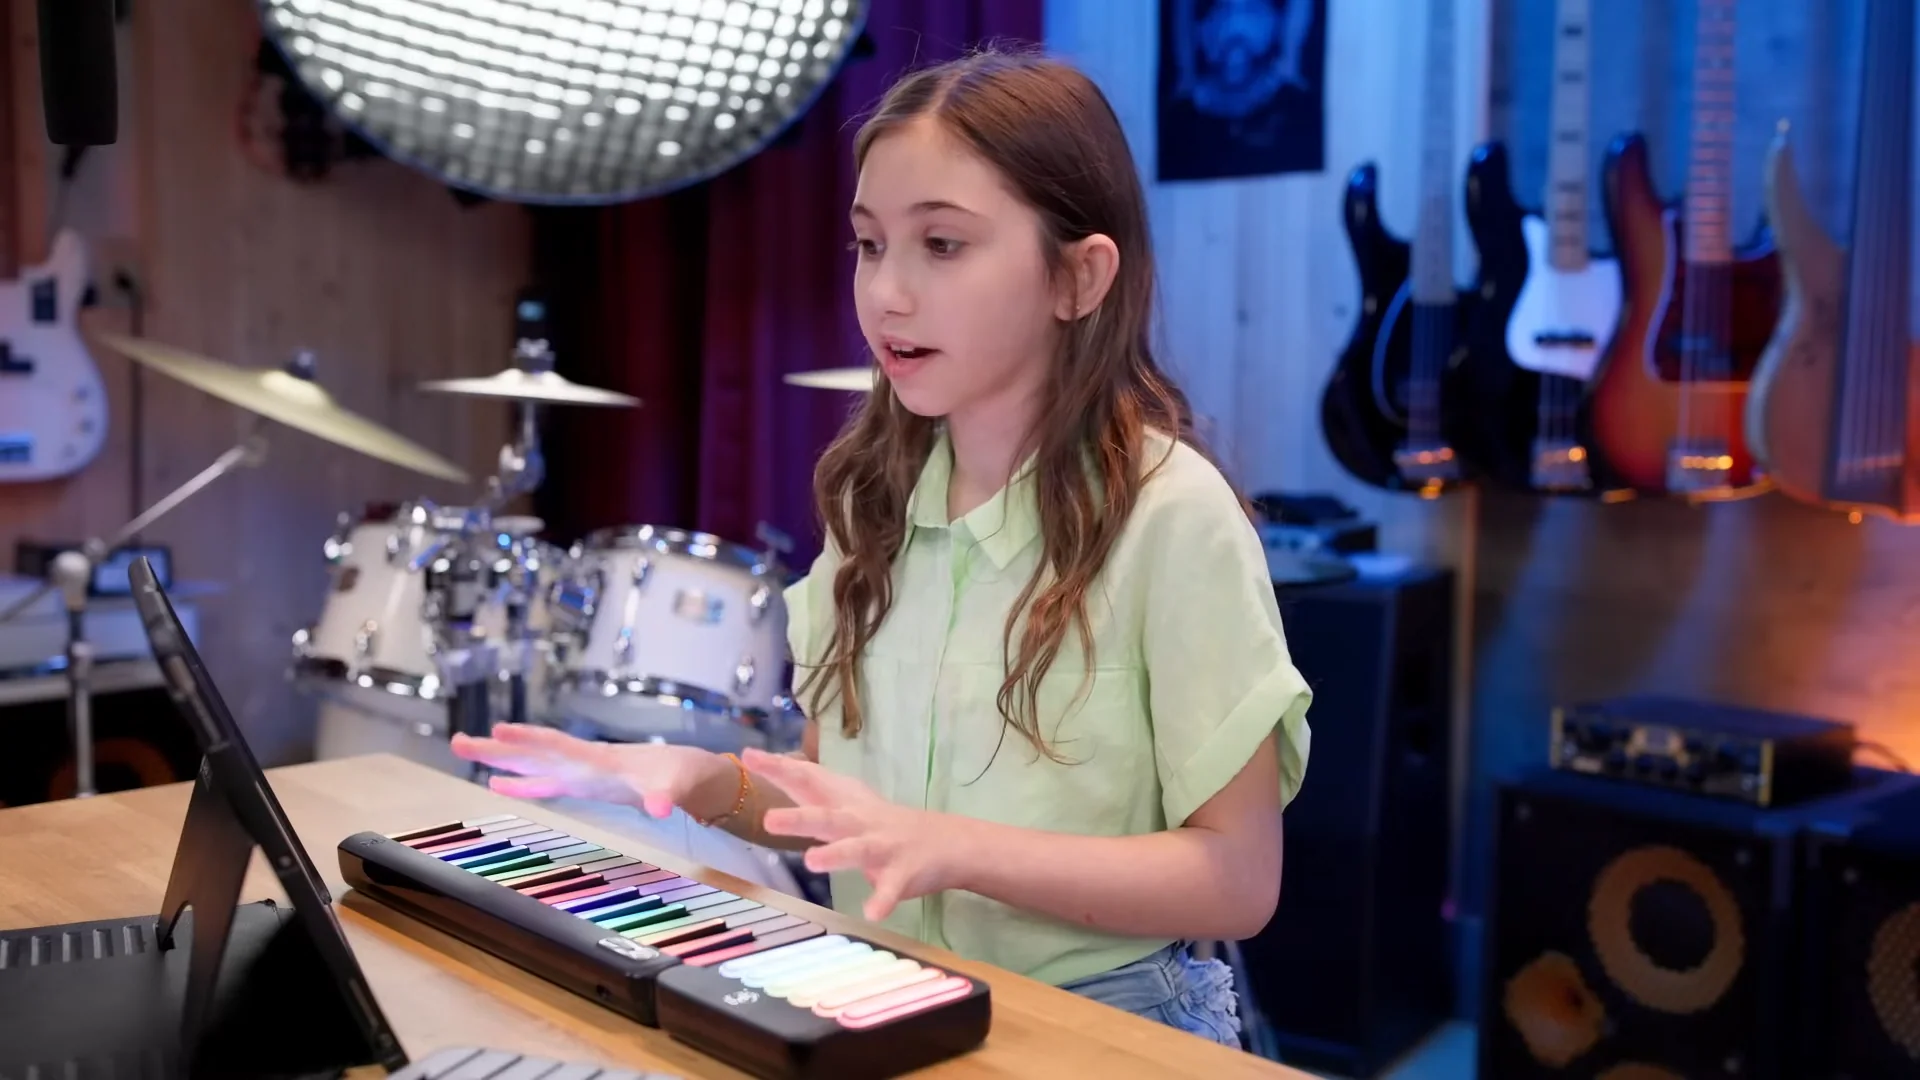
Open the companion app or onboard sound menu and select from presets like grand piano, electric piano, strings, pads, bass, or drums. Some smart keyboards include a chord/pad surface—use it to trigger backing grooves while you play melody on the keys. Save a few “starter” combinations (e.g., piano + pad for ballads; EP + light drum loop for R&B).
Inside your DAW, insert a virtual instrument (e.g., a sampled piano or synth). Your keyboard now acts purely as a controller; the sound comes from the plug-in. This gives you studio-grade tones while you keep the portability and learning tools of the smart board.
Pro workflow: Keep two rigs—(1) app-only for instant practice, (2) DAW template for recording days.

A frequent question is how to record MIDI with PopuMusic or any smart board. MIDI captures “what you played”—note, timing, and velocity—so you can edit later.

Customizing the look and feel is fun, but be gentle. The question how to replace PopuMusic keycaps applies broadly to many smart boards; always check the specific manual first.
If your model’s “keycaps” are integral to the key mechanism (common on many digital pianos), leave them as-is and personalize with overlays instead.
Keep a small notebook (or app notes) for “bar numbers, tempo, tomorrow’s target.” When you sit down next time, you’re ready.
Many modern smart boards let you start compact and add an expansion keyboard later for wider range. That path is cost-smart and space-friendly: learn songs with lights on a small setup, then expand for left-hand bass and two-hand pieces.
If you want a sense of how a modular rig looks in the real world—LED guidance, app lessons, USB/Bluetooth MIDI, and a growth path—browse this example: PopuMusic smart keyboard.
Yes. Over USB or Bluetooth it sends note/velocity like any controller; map knobs/pads if available.
Weighted action feels closest to acoustic pianos, but a lighter, portable action is great for daily practice and producing. Many players keep one of each.
Use USB, open your DAW’s piano patch, hit Record, and capture a short loop. Edit gently; save often.
Sometimes updates reset settings. Skim the notes and screenshot your favorites before you update.
A smart piano keyboard is equal parts teacher, instrument, and studio tool. Start with a zero-friction setup, lean on light-guided learning for quick wins, plug into a DAW when you’re ready to capture ideas, and keep your hardware fresh with the occasional firmware update.
As your music grows, you can change sounds, expand your key range, and refine your workflow without replacing everything. The point isn’t to have every feature—it’s to make it easy to sit down, press one key, and begin.
Read more
Can I use a smart keyboard as a MIDI controller
Short answer: yes. Most modern smart keyboards send MIDI over USB and often over Bluetooth, so you can use them as fully functional controllers in your DAW (Logic, Ableton, FL Studio, GarageBand, e...
Mastering Rhythm: How to Use a Metronome for Piano
Rhythm is the frame that holds every melody together. If you’re serious about clean, confident playing, a metronome for piano is the simplest tool with the biggest impact. Used well, it fixes rushi...