If you’re teaching music at home, the “best” instrument isn’t the biggest or most expensive—it’s the one your learner will actually play every day. This guide is built for parents, tutors, and adult starters who want the best beginner keyboard for homeschool without wasting money on features that won’t get used.
We’ll cover what matters, what doesn’t, how to set up an easy practice routine, and a practical short list so you can choose with confidence. We’ll keep the brand mentions light and the advice specific. The goal: a best beginner keyboard that fits your space, keeps noise down, connects to learning apps, and makes starting simple.
When we recommend a model as a “top practical pick,” we’ll link to one compact, smart, LED-guided option that consistently removes friction for beginners: Smart Keyboard.

Homeschool music succeeds when three things happen daily: the instrument is reachable, the lesson is clear, and the practice is quiet enough for the rest of the house. Translate that into features:
1) Quiet practice
Headphone output is non-negotiable. If practice is silent, it happens more often. Bonus points for a volume knob within easy reach.
2) Portable size
A slim, lightweight board that lives on a desk beats a heavy slab you have to unpack. The best beginner keyboard piano is the one that’s always out.
3) Learning clarity
App lessons, play-along songs, and LED follow-lights remove early guesswork. For new players and younger learners, visual cues keep attention on the keys, not on frustration.
4) Real connectivity
USB or Bluetooth MIDI lets you use learning apps and record. It also future-proofs the purchase for composition and DAW use later.
5) Growth path
A modular setup (start compact, add keys later) stretches budget and supports progress without buying a whole new instrument.

What you can skip at first: huge sound banks, big amp sections, deep synth editing, and pro stage outputs. Save that money for lessons, a stand, and a decent bench.
When choosing the best beginner keyboard, think like this:
The easier it is to start, the more a beginner will practice. A smart portable unit with tap-and-play lessons wins here.
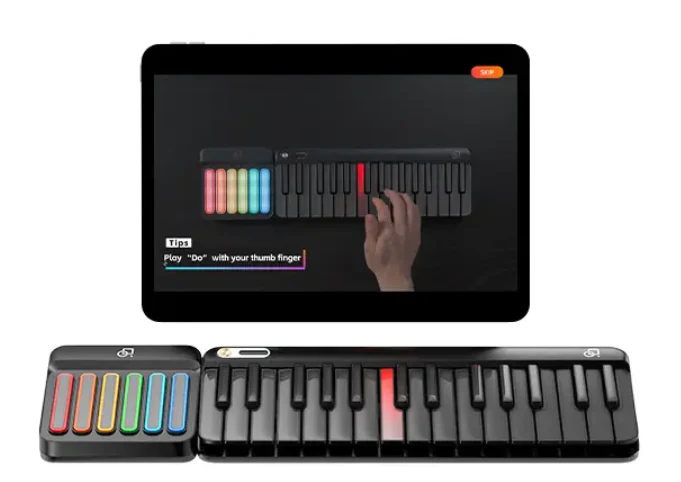
A smart piano keyboard that lights the next note solves the biggest early pain point: “Where do my fingers go?” Use LEDs to map a section, then turn them off for short stretches to confirm memory. Pair that with wait-for-note and you have a feedback loop where the track only moves when the right key is pressed—ideal for focused, short homeschool blocks.
If you want a clean example of this approach—compact, quiet, app-connected, and expandable later—see Smart Keyboard.
20 minutes (daily default): Open with two minutes of soft five-finger patterns to wake up the hands. Learn or review two bars at slow speed with wait-for-note on. Merge hands at half speed and finish by playing a favorite easy phrase so the session ends with confidence.
30 minutes (2–3× per week): Short warm-up, right hand loop, left hand loop, hands together with metronome at slow speed. Record a 20-second clip on your phone. Write tomorrow’s “first bar” on a sticky note and place it on the music rest.
45 minutes (once a week “growth day”): New fragment slow, transition linking, dynamics and pedal shaping, single recorded take at comfort tempo. Celebrate one tiny win (a clean bar, a smooth transition). Motivation survives on visible wins.
Best for homeschoolers who value quiet practice, portability, and short, guided lessons. It’s the best beginner keyboard for adults who are self-teaching, too—light guidance reduces friction after long workdays.
Works if you’re confident guiding daily practice or already reading notation. Make sure it still has velocity sensitivity and a headphone jack.
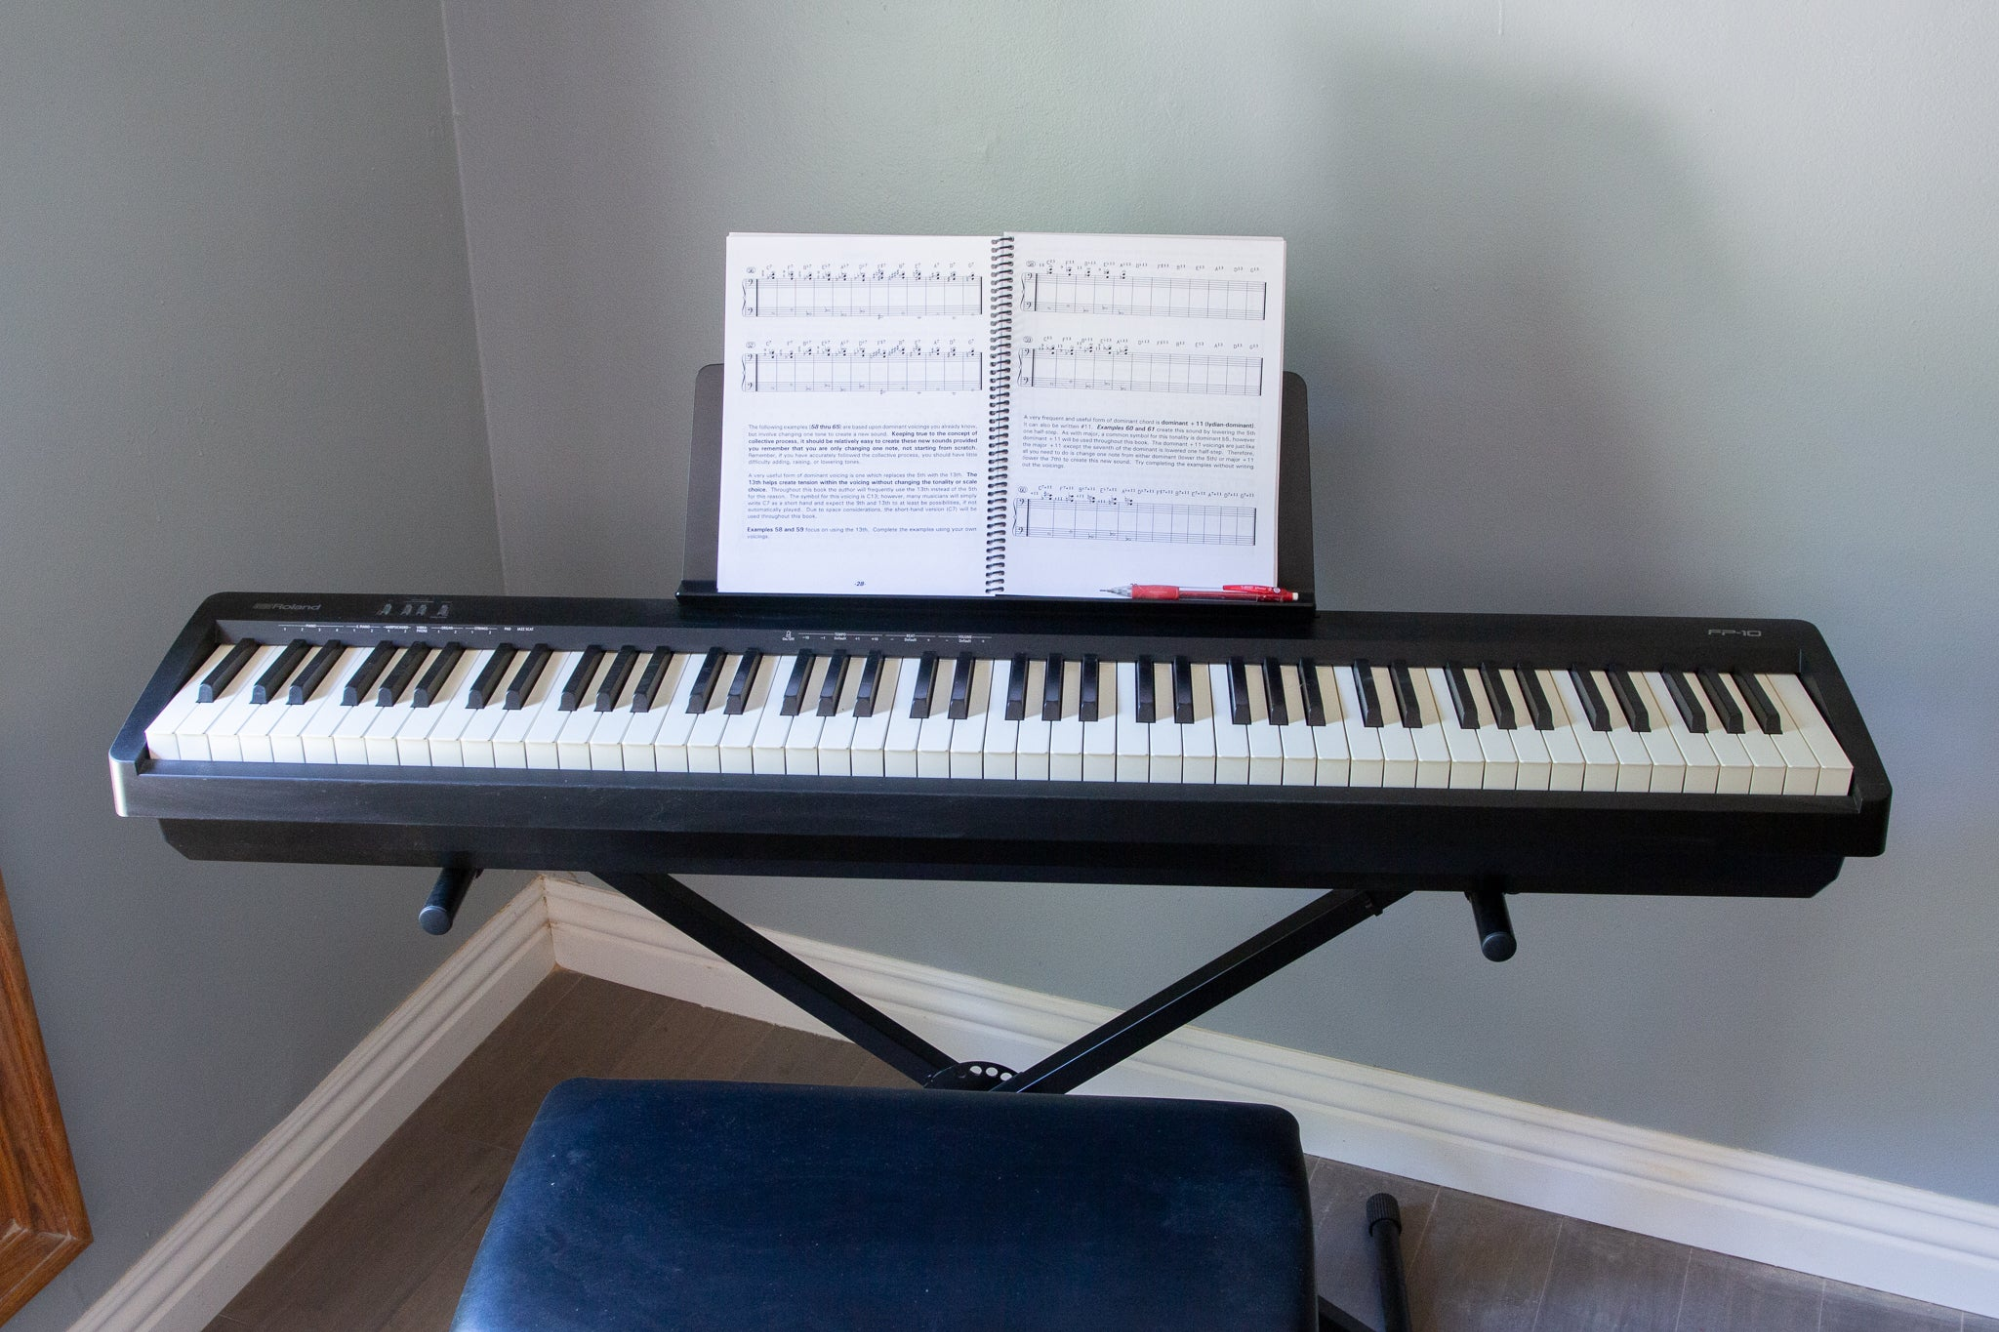
Great if the learner is older and set on classical technique. It’s heavier, pricier, and less portable; ensure you have a fixed space and a schedule you’ll keep.
For most families, Path A offers the highest “practice per dollar.” You can always add more keys later.

“Is the smallest size enough?”
For the first year, yes. Most homeschool goals—melody, chords, simple two-hand phrases—fit on a compact layout. Expand when the music demands it.
“Do we need weighted keys?”
Not for day one. Velocity sensitivity and good routine matter more. If classical exams become the goal, consider a weighted board later.
“Will LEDs make my child dependent?”
Not if you taper. Use lights to map, then test short sections with lights off. The brain adapts quickly when success is frequent.
“What about noise?”
Headphones. This single feature is the difference between daily practice and “not today.”
If you want a “ready on the desk” instrument that keeps practice quiet, connects instantly to apps, and lets a learner see the next note without guessing—while still doubling as a MIDI controller for future recording—this compact, modular board is a strong choice:
Why it fits the “best beginner keyboard for homeschool” brief:
This approach gives you a best beginner keyboard piano that’s simple on day one and doesn’t paint you into a corner by month six.
If a model misses more than one of these, keep looking.
Day 1: Set up the station; choose a short song your learner knows by ear.
Day 2: Right hand two bars, wait-for-note, very slow.
Day 3: Left hand two bars, same tempo; keep it soft and steady.
Day 4: Hands together at half speed; accept tiny pauses at hard spots.
Day 5: Link four bars; add simple dynamics (soft vs medium).
Day 6: Record a 20-second clip; write one thing to improve tomorrow.
Day 7: Review and celebrate—consistency is the win.
Repeat the cycle with the next section or a new song.
The best beginner keyboard isn’t the flashiest—it’s the one that lowers friction so practice happens today, tomorrow, and next week. For homeschool, that means headphones, simple app guidance, and a compact form factor you can leave set up. Start small, build the habit, and expand only when the music demands it.
Read more
Digital piano vs smart keyboard: Which is better for your needs?
Choosing between a smart keyboard vs digital piano comes down to how you’ll actually use the instrument—today and six months from now. Do you want a realistic piano feel for technique and classical...

The PopuMusic Story: From a Simple Idea to a Global Music Movement.
Why We Founded PopuMusic Popumusic was founded in 2015 by Bruce Zhang, a professional music producer with a lifelong passion for making music creation truly free. Ever since Popumusic was fou...