Skip to content

Cart

Your cart is empty

Continue shopping
How to Follow LED Lights on Piano: Beginner’s Guide
Aug 25, 20257 min read

How to Follow LED Lights on Piano: Beginner’s Guide

If you’ve just unboxed a piano with lights and you’re wondering how to follow LED lights on piano without picking up bad habits, you’re in the right place. Light‑guided keyboards are designed to show you exactly where to place your fingers and when to play, so you can complete real songs in your first week. With a few simple tactics—tempo control, looping, hand‑by‑hand practice—you’ll turn those LEDs into steady progress.

What LED follow lights are—and why they work

Follow lights (sometimes called guide lamps or stream lights) are small LEDs above or inside the keys that illuminate the next notes you should play. When paired with a lesson app, they usually do three things that help beginners:

  • Show the next notes clearly so you’re not hunting for keys.
  • Pause and wait if you miss, then resume when you play correctly (great for learning at your own pace). 
  • Track timing and accuracy so you can see improvement from session to session.

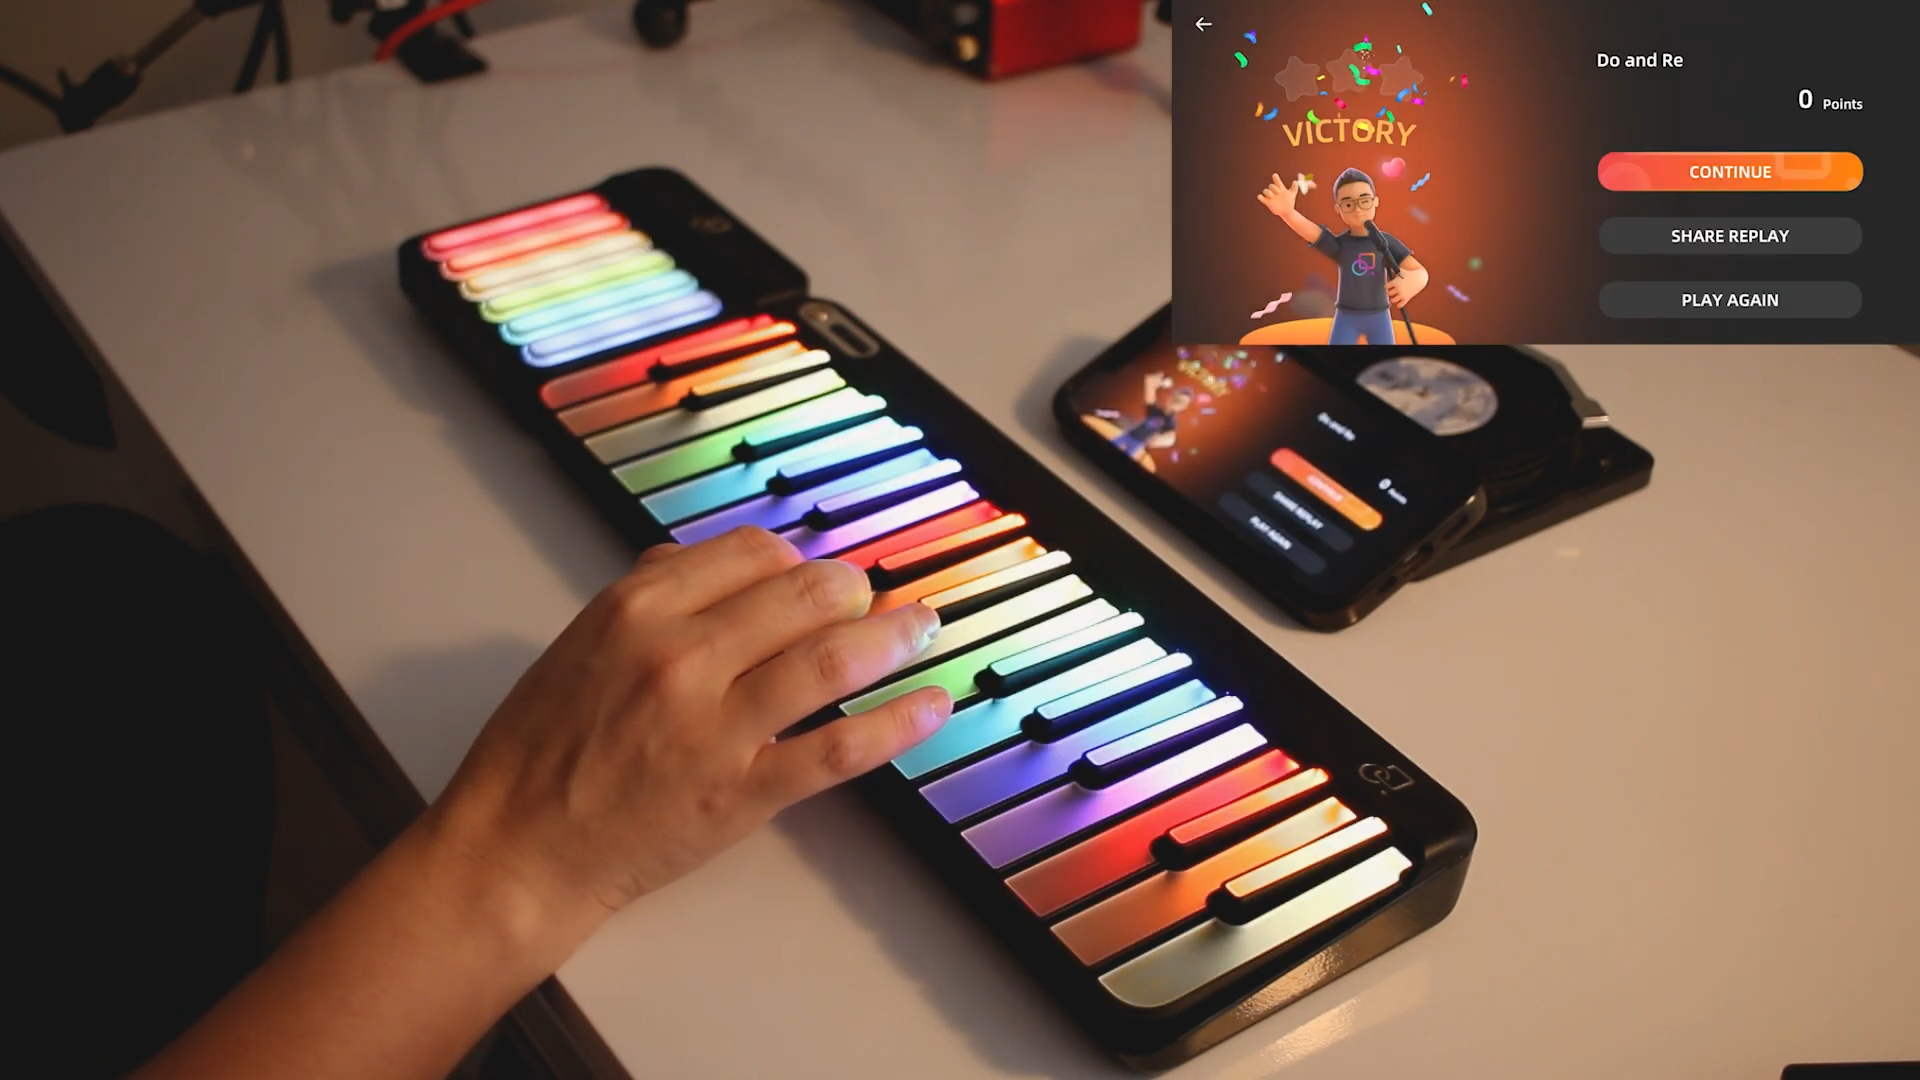
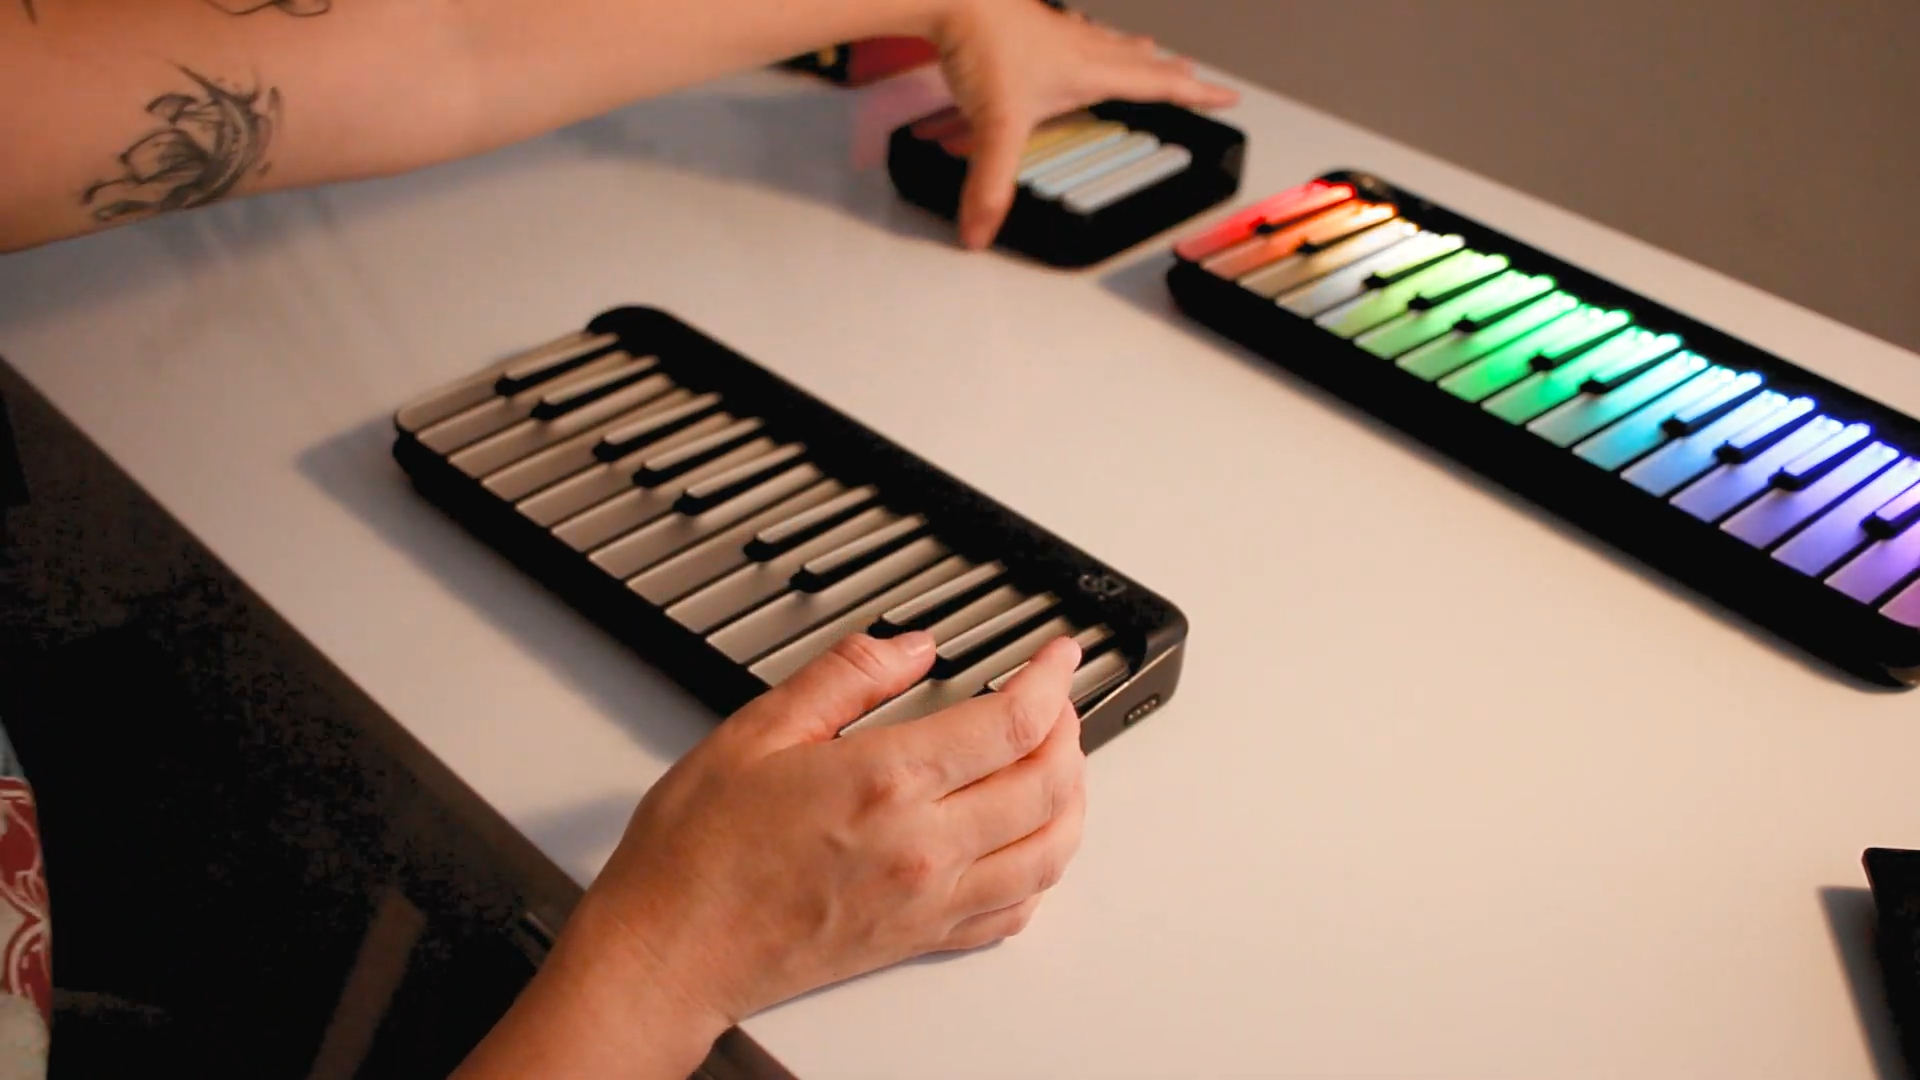
On many modern smart keyboards, the lights span the full keybed and can display multiple colors, which makes chords, hands, and parts easier to distinguish. You’ll often see this described as full‑key multi‑color lights combined with a guided mode inside the companion app.

How to follow LED lights on the piano step by step

Here’s a simple, repeatable routine that turns LEDs into progress.

1) Start slow and let the system wait for you

Open the lesson app, choose Beginner or Easy, and reduce the tempo to where you can play without rushing. Most follow‑light systems are designed to “wait” for missed notes, so use that to relax and learn the motion. 

2) Learn hands separately first

  • Right hand: play the lighted melody alone until your fingers stop searching.
  • Left hand: add single bass notes or the root of each chord.
    Once each hand feels calm, combine them at a slower tempo.

3) Loop tiny sections (10–20 seconds)

Don’t keep restarting from the beginning. Use the app’s loop on the trickiest bar and repeat it 5–10 times. Small wins stack quickly.

4) Increase speed in small steps

When you can play a loop three times cleanly, bump the tempo 5–10%. Big jumps cause tension; small jumps build confidence.

5) Use lights + sound

Watch the LEDs—but also listen. As soon as the melody sounds familiar, glance less at the keys. Your ears are the best guide you have.

Do the lights match sheet music? (and what “lights are on piano sheet music” really means)

A common search is “lights are on piano sheet music—usually people are asking how the lights relate to notation. Here’s the translation:

  • The app’s waterfall view (or scrolling notes) corresponds to where the LED lights on piano will appear. As a falling bar reaches the key position, the LED turns on; you play that key.
  • In sheet‑music view, the same timing is shown as notes on the staff. Think of it as two synchronized displays—one visual, one traditional.
  • Over time, you can use lights and basic notation together: watch the shapes, glance at the staff, and let your ear confirm the rhythm.

Some systems also show lyrics or chord symbols above the scrolling notes, which is handy if you want to sing and play with one‑tap chords or a chord pad.

Set up checklist for a smooth first week

  • Pick the right device: phone, tablet, or laptop with the lesson app installed.
  • Connect quickly: Bluetooth or USB‑MIDI—follow the in‑app pairing steps.
  • Headphones ready: silent practice keeps you consistent.
  • Choose your first song: pick something you already know by ear.
  • Turn on guided mode: look for phrases like Follow the Lights or Guide/Stream Lights. (Most systems present this clearly in the app or product page.) 
  • Set a tiny goal: one section per day at a slow tempo.

A 30‑day plan to go from single notes to full songs

A month is enough to build muscle memory and a playlist you can actually play. Use 15–25 minutes per session, five days a week.

Week 1 — One‑hand melodies at slow speed

  • Goal: finish one short melody end‑to‑end at 60–70% speed.
  • Routine: warm up with five‑note patterns; learn the right‑hand part; loop the hardest bar.
  • Lights tip: keep your eyes soft—look at the next light, not the one under your finger.

Week 2 — Add the left hand (roots or simple chords)

  • Goal: play the same song with left‑hand roots on beat 1 (or 1 and 3).
  • Routine: split time—8 minutes right hand, 8 minutes left hand, 6 minutes hands together.
  • Lights tip: if a jump causes mistakes, slow down and anchor one finger on a nearby key to orient the hand.

Week 3 — Two songs + dynamics

  • Goal: finish Song #1 hands together at near‑full speed; start Song #2.
  • Routine: use the metronome for 3 minutes per session; practice soft verses and louder choruses.
  • Lights tip: when both hands light up at once, press down together—use the metronome click to line them up.

Week 4 — Introduce chords and simple accompaniment

  • Goal: add one‑tap chords or blocked triads (for a fuller sound) and complete Song #2.
  • Routine: alternate between whole‑note holds (4 beats) and half‑note pushes (beats 1 and 3).
  • Light's tip: look for patterns—the same chord shape often returns a bar later.

Rhythm patterns that make simple parts sound great

Following the lights will get you playing notes. Rhythm is what makes those notes feel like music.

  • Whole‑note hold: press the lit chord and hold for 4 beats. Calm and confident.
  • Half‑note push: play on 1 and 3; steady and supportive.
  • Pop syncopation: play on 1, rest on 2, then play on the “and” of 2 and 4. Count “1 2‑and 3 4.”
  • Broken chords: when several lights in a chord appear, try rolling low→high (1‑3‑5) and high→low (5‑3‑1) on alternate bars.

These patterns work whether you’re using single notes, basic chords, or layered parts from the app’s song library. 

Common mistakes (and quick fixes)

  • Staring at your hands: keep eyes on the next light or the screen; trust touch for nearby keys.
  • Jumping tempo too fast: only increase speed after three clean loops of a section.
  • Restarting from the top every time: loop the hardest 1–2 bars until they’re automatic.
  • Tension in wrists: shake out arms, then play one passage as quietly as possible; soft playing forces relaxed control.
  • Ignoring left hand: even a single left‑hand root on beat 1 makes your playing sound complete.
  • Only using lights forever: see the next section—lights are the ramp, not the destination.

From lights to independence: how to “wean off” LEDs

Lights help you start; habits keep you going. Here’s a graceful exit plan so you don’t become LED‑dependent:

  • Dim or limit lights to the right hand only; keep left hand from memory.
  • Turn lights off for the first measure of each line; turn them back on if you stumble.
  • Switch view to staff or “waterfall + staff” to connect lights to notation.
  • Record yourself once a week. Listening reveals timing wobbles that lights can hide.
  • Learn one song fully by ear using chord prompts (I–V–vi–IV). Once you can hum it, the lights become optional.

Most smart keyboards let you mix guidance with free play, add chord prompts, or practice with a metronome—use those tools to transition from visual cues to musical instincts. 

Final thoughts (gentle next step)

Learning with LED lights on the piano is about momentum, not magic. Follow the lights slowly, loop tiny sections, and nudge the tempo only after clean runs. Add left‑hand roots, then chords, then rhythm patterns that feel musical. Within weeks, you’ll have a couple of full songs you can play end‑to‑end—and you’ll be ready to explore beyond the LEDs.

If you want a hands‑on example of a piano with lights—including guided mode, song library, and MIDI for creation—take a look at this smart keyboard with full‑key lights (you’ll find “Follow the Lights” sections and specs like multi‑color LEDs right on the page). 

Frequently Asked Questions

How do I know I’m using the lights correctly?

You should feel calmer after the first five minutes. If you tense up, slow the tempo and loop a smaller section. When the lights pause and wait for you, use that breathing room to place your hand comfortably.

Will I still learn real skills if I rely on LEDs?

Yes—if you pair lights with rhythm practice and gradual tempo increases. Add left‑hand roots, then basic chords, then dynamics. These translate directly to playing without lights.

Do LEDs help kids and adults differently?

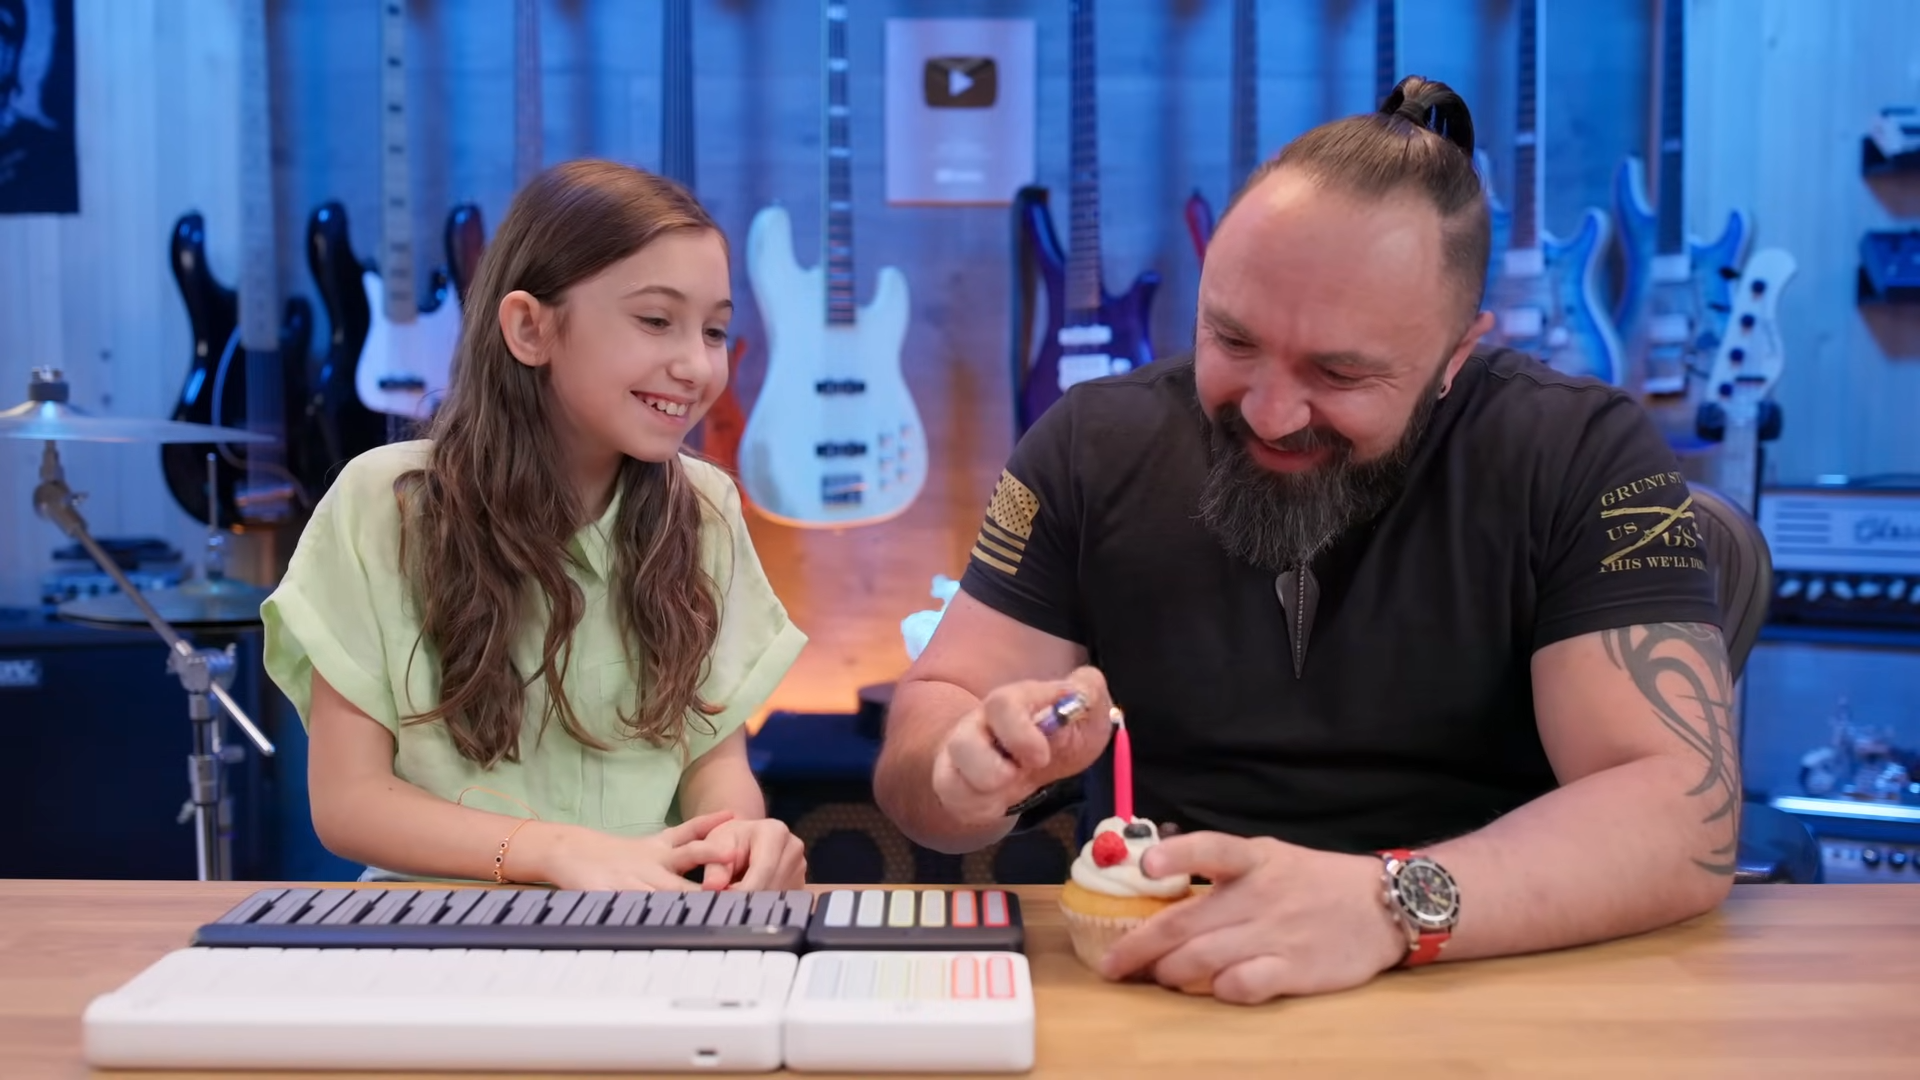
Kids benefit from fast visual cues and short, game‑like sessions. Adults benefit from the same cues plus intentional rhythm work and recording. Both learn best with familiar songs they already recognize.

Can a smart keyboard do more than follow lights?

Most can. Look for full‑key multi‑color lights, guided modes, song libraries, one‑tap chords, and MIDI to connect with music apps—features that cover learning and creation in one device. 

What if my model’s lights don’t cover every key?

You can still learn. Focus on the lit ranges, keep tempos slow, and use the on‑screen display to anticipate upcoming notes.