If you’ve ever wished you could sit down and make music without months of lessons, a keyboard that lights up to teach you how to play can bridge the gap. Instead of staring at staff lines or memorizing finger charts, the notes illuminate under your fingers. You follow the lights, hear instant feedback, and build real muscle memory—one song at a time.
If you’ve ever wished you could sit down and make music without months of lessons, a keyboard that lights up to teach you how to play can bridge the gap. Instead of staring at notation or finger charts, the notes illuminate under your fingers. You follow the lights, hear instant feedback, and build real muscle memory—one song at a time.
This guide explains how light-guided keyboards work, what to look for before you buy, and a simple 30-day plan for learning how to play piano at home. It’s written for people comparing options—CNET’s coverage of ROLI/LUMI is a good example of the category—and trying to decide if a light-up system is the right first step.
How a light-up system actually teaches you
A keyboard that lights up to teach you how to play usually pairs illuminated keys with a companion app:
-
Guided by lights: LEDs show the next note or chord. You match fingers to lights and listen for the result.
-
Self-paced lessons: The app waits when you miss a note, loops tough passages, and gradually increases speed.
-
Meaningful feedback: Timing and accuracy scores tell you exactly what to improve.
Is this a good way to learn how to play the piano?
Yes—especially for the first 3–6 months. A light-guided approach builds the habits that matter most early on:
-
Quick wins → more practice: Finishing a recognizable melody in your first session is a huge motivator.
-
Rhythm first: Count-ins and click tracks teach steady timing before notation gets heavy.
-
Visual → muscle memory: Following lights is scaffolding; patterns (scales/chords) become automatic with repetition.
If you decide to pursue deeper technique later, you can move onto weighted keys or traditional reading.
Is this a good way to learn how to play the piano?

Short answer: yes—especially for the first three to six months. A light‑guided approach helps you learn how to play piano by building the habits that matter most early on: finding notes without looking confused, keeping time, and finishing full songs. Here’s why it works:
-
Immediate success leads to more practice. Finishing a recognizable melody in your first session is a powerful motivator. Consistency, not talent, is what moves beginners forward.
-
You learn rhythm with your ears and hands. Guided countdowns and click tracks teach steady timing before you get tangled in notation.
-
Visual memory supports muscle memory. Following lights isn’t “cheating”—it’s scaffolding. As patterns repeat, your fingers start to remember the shapes of common chords and scales.
What to look for before you buy
-
Key feel & size. Full-width keys feel more “piano-like,” while compact boards suit small desks/travel.
-
Number of keys & growth. Compact boards are easier to keep visible (so you practice more). If you’ll want more range later, consider modular or expandable designs.
-
Guidance quality. Follow-lights plus an on-screen waterfall view works best. Lessons should pause gracefully and loop tricky measures.
-
App experience. Look for Courses, Song Library, and Free Play/Compose modes; frequent updates help.
-
Connectivity. Bluetooth MIDI for couch practice; USB-MIDI for lowest-latency recording. Headphones are essential for quiet homes.
-
Portability. A backpack-friendly board makes practice possible anywhere.
-
One-tap chords/pads. Great for singing while playing or sketching songs fast.
10-minute setup: from box to first notes
-
Unbox & charge → install the app (iOS/Android).
-
Power on & pair (Bluetooth) or plug in via USB.
-
Run updates (firmware/content).
- Pick “Beginner” + a familiar song.
-
Follow the lights—the app will pause on mistakes.
-
Save progress to keep streaks and scores.
A 30-day plan to learn your first three songs
Week 1 — Comfort (15–20 min × 5 days)
- Song #1 in Easy mode with lights on
- Goal: full piece at slow tempo
- Focus: right-hand melody, steady rhythm
Week 2 — Add left hand (20 min × 5 days)
- Simple bass notes or one-tap chords
- Loop the trickiest 4 bars until hands stop “fighting”
- Goal: both hands at reduced speed, few errors
Week 3 — Speed & tidy (20–25 min × 4–5)
- Increase tempo 5–10% at a time
- Add a metronome for 5 minutes per session
- Goal: Song #1 at full speed + start Song #2
Week 4 — Expand (25 min × 4–5)
- Finish Song #2 + start Song #3 (different style)
- Add dynamics; record a one-take for family
What to look for before you buy

Not all light‑guided keyboards are the same. Use this checklist to pick one you’ll actually enjoy using:
-
Key feel and size. Full‑width keys feel more “piano‑like,” while mini keys are great for small desks and travel. If you plan to sing and accompany yourself, pay attention to key spacing and velocity sensitivity (how the sound changes with soft vs. hard presses).
-
Number of keys—and room to grow. Compact boards are easy to keep within reach, which means you practice more often. If you think you’ll outgrow a smaller board, look for modular expandability—for example, a main keyboard you can extend later with an add‑on key module.
-
Guidance quality. The best systems use follow‑lights and a clear on‑screen “waterfall” to show upcoming notes. Lessons should pause gracefully and loop tricky measures automatically.
10‑minute setup: from box to first notes

You don’t need to be technical to get started. Here’s a simple flow that works on phones, tablets, and laptops:
-
Unbox and charge. While it tops up, install the companion app from the iOS or Android store.
-
Power on and pair. Turn on the keyboard, open the app, and connect via Bluetooth (or use USB if you prefer).
-
Run the quick update. Many systems push firmware or content updates that improve timing and add songs.
-
Pick “Beginner” and your first song. Choose a tune you recognize. Familiar melodies are easier to complete on day one.
-
Follow the lights. The keys illuminate; the app counts you in. If you miss a note, it will wait and replay the measure.
-
Save your progress. Most apps keep streaks and scores—great for motivation.
A 30‑day plan to learn your first three songs

If your goal is to actually learn how to play piano, what you need most is a schedule you can stick to. Here’s a realistic plan that fits into busy weeks.
Week 1 — Get comfortable (15–20 minutes x 5 days)
- Song #1 in “Easy” mode with lights on
- Practice goal: finish the full piece at a slow tempo without stopping
- Skill focus: right‑hand melody, steady rhythm, soft vs. loud notes
Week 2 — Add left hand (20 minutes x 5 days)
- Turn on simple left‑hand chords or bass notes
- Loop the trickiest 4 bars until your hands stop fighting each other
- Practice goal: play both hands at reduced speed with minimal errors
Week 3 — Speed up, tidy up (20–25 minutes x 4–5 days)
- Increase tempo gradually (5–10% at a time)
- Use the metronome for 5 minutes per session
- Practice goal: complete Song #1 at full speed, begin Song #2
Week 4 — Expand your repertoire (25 minutes x 4–5 days)
- Finish Song #2 and start Song #3 (a different style)
- Add dynamics—make the chorus louder, the verse softer
- Optional: record yourself and listen back for timing wobbles
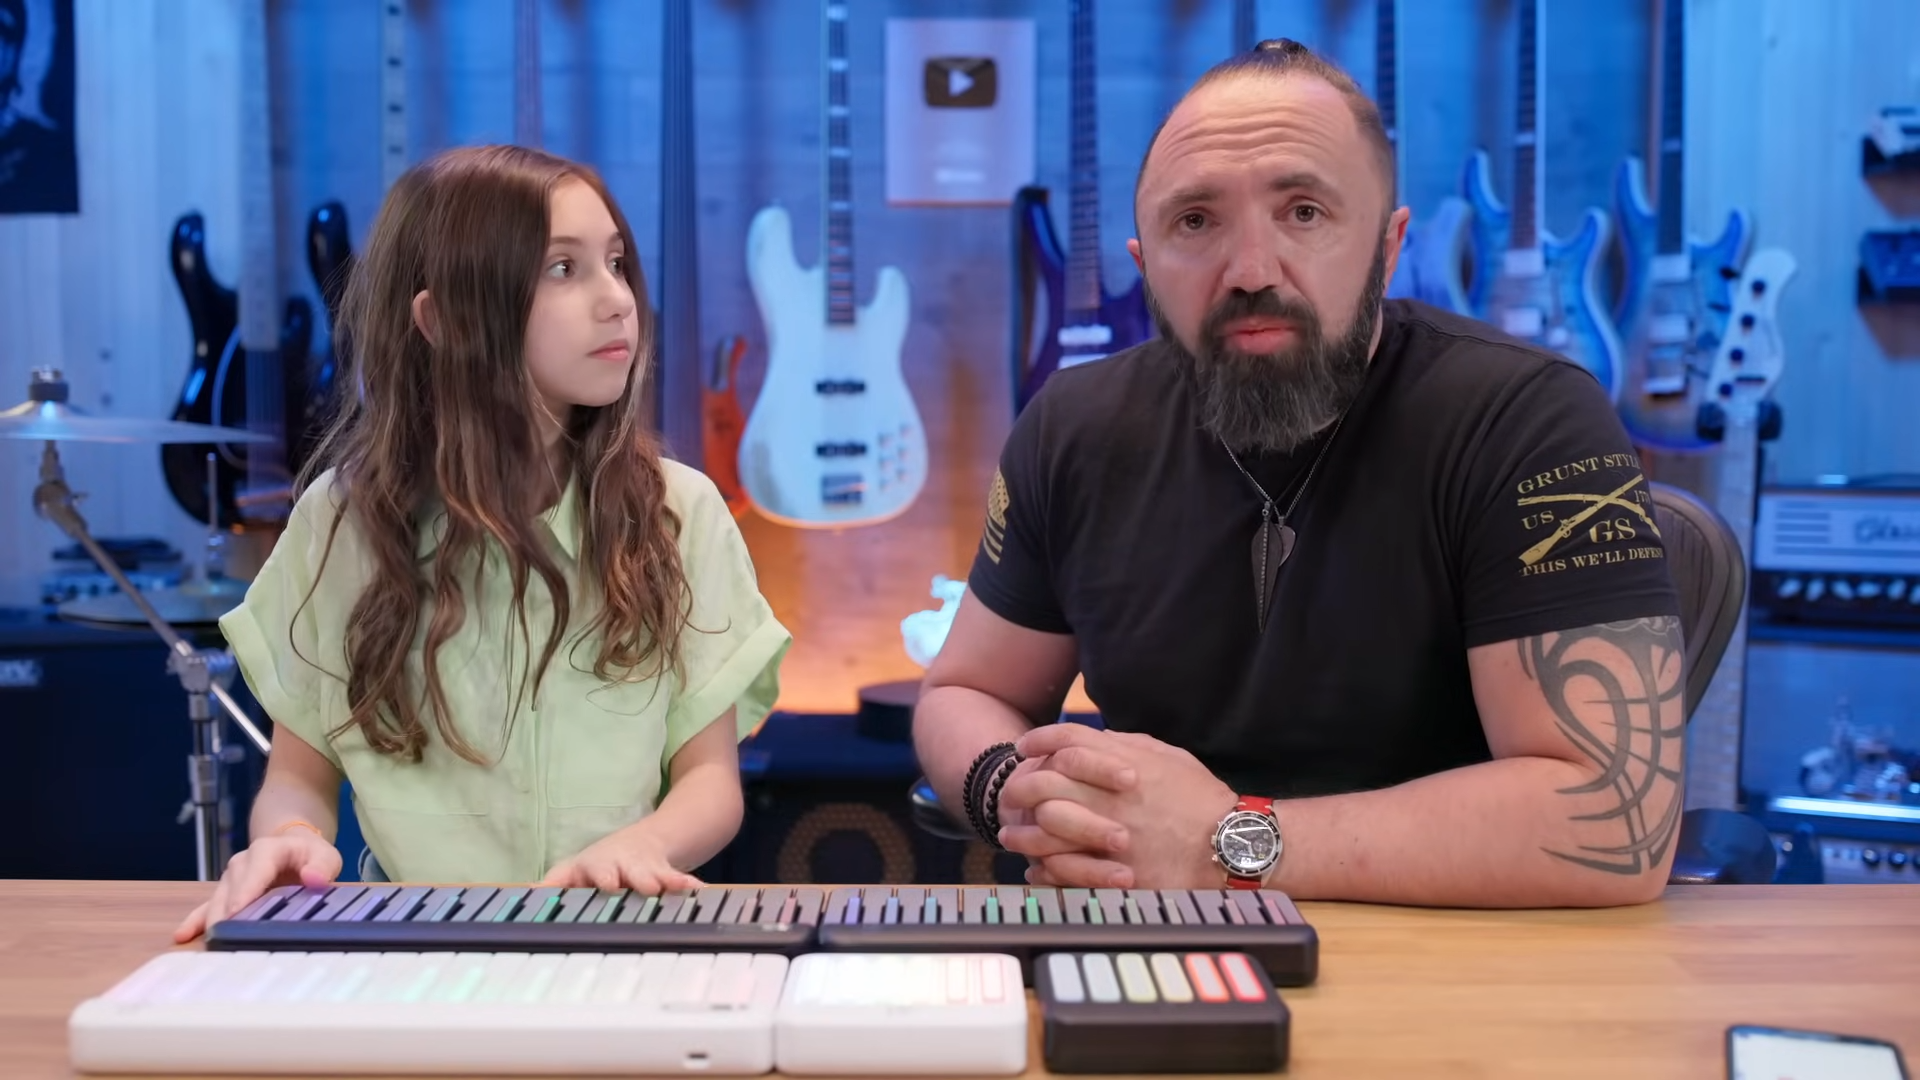
For kids vs. adults: how to tailor the experience

Kids (ages 5–12)
- Keep sessions short and playful: 10–15 minutes, 5–6 days/week.
- Choose familiar songs and game‑style exercises.
- Celebrate small wins: finishing a section, holding a streak, or improving a score.
- Use headphone practice to keep things quiet and focused.
Adults and teens
- Set a weekly goal (one section per day, full song by Friday).
- Mix guided practice with 5 minutes of free play to explore sounds.
- If you sing, map simple chord progressions and try one‑tap chords for accompaniment.
- Schedule a “show‑and‑tell” with friends or family at the end of each week.
Light‑up keyboard vs. traditional 88‑key digital piano
You don’t have to choose one forever. Many learners start with a compact light‑guided board, then move to a full‑size instrument later. Here’s the trade‑off:
|
Feature
|
Light‑up keyboard
|
Traditional 88‑key digital piano
|
|
Learning curve
|
Very low (follow lights)
|
Higher (reading first)
|
|
Motivation
|
Game‑style rewards, fast wins
|
Depends on teacher/discipline
|
|
Portability
|
Backpack‑friendly
|
Heavy and stationary
|
|
Space
|
Desk‑sized
|
Needs dedicated space
|
|
Technique
|
Great for early stages
|
Best for advanced touch and dynamics
|
|
Price
|
Usually lower to mid
|
Often higher for weighted action
|
If your goal is to establish a steady habit, a keyboard that lights up to teach you how to play is a smart starting point. If you’re already committed to classical repertoire and weighted keys, an 88‑key digital piano might be the better first purchase.
Using it as a MIDI controller for creation
Most modern light‑guided keyboards double as MIDI controllers. That means you can plug into a laptop, iPad, or phone and record into apps like GarageBand, Logic, FL Studio, or Ableton. A few tips to make this smooth:
-
Bluetooth vs. USB. Bluetooth is tidy and portable; USB has the lowest latency for recording.
-
Start with a drum loop. Play along to a simple beat. It keeps your timing honest.
-
Layer parts. Record right‑hand melody, then add chords or bass.
-
Try different sounds. Pianos, electric pianos, strings, synth leads—switching tones keeps practice fresh.
-
Export and share. Posting your progress is motivating and helps you commit to regular sessions.
Common mistakes and simple fixes
-
Chasing speed too early. Slow down until you can play a section three times in a row without errors, then raise the tempo 5–10%.
-
Ignoring the metronome. Even 3–5 minutes per session builds internal timing.
-
Only practicing the beginning. Loop the hardest 4 bars; don’t always start from the top.
-
Playing with cold hands. A quick finger warm‑up (five-note patterns) yields better control.
-
Forgetting to have fun. Rotate in one “just for fun” song each week. Joy fuels consistency.
Who it’s best for—and who might want something else
A keyboard that lights up to teach you how to play is ideal for:
- Absolute beginners who want quick wins without reading music
- Busy adults who need flexible, low‑noise practice at home
- Parents looking for a kid‑friendly way to start music without heavy lessons
- Creators who want a portable board that also works with music apps
You might prefer a different path if:
- You’re committed to classical technique on fully weighted keys from day one
- You want the heaviest, most piano‑like action for advanced dynamics
- You already read music comfortably and don’t need visual guidance
Final thoughts
Learning how to play piano doesn’t have to start with theory. A keyboard that lights up to teach you how to play turns the first month into a series of quick, satisfying wins.
You’ll hear music under your hands right away, build timing through guided practice, and grow into more advanced skills when you’re ready. Most importantly, you’ll want to come back tomorrow—and that’s what makes a beginner into a player.
Frequently Asked Questions
What’s the fastest way to start on a keyboard that lights up to teach you how to play?
Pick a song you know, slow the tempo, and let the app pause on mistakes. Complete the full piece before speeding up.
Will I learn how to play the piano—or just follow lights?
Lights give you a head start on rhythm and note-finding. As you progress, add left-hand parts, dynamics, and reading if you want.
How many keys do I need as a beginner?
A compact board is enough for your first songs. If you’ll want two-hand pieces later, choose something expandable or aim for 61 keys.
Can I practice quietly with headphones?
Yes—most systems support headphones or let you monitor audio through your phone/tablet.
Can I sing and play?
Look for one-tap chords or a pad section—they trigger harmonies while your other hand plays the melody.